Introduction
As summer approaches, the sweltering warm could make existence uncomfortable with out a https://fernandobghr236.image-perth.org/how-much-should-you-expect-to-pay-for-residential-ac-repair-2 dependable air con manner. Whether you’re trying to purchase an air conditioner online or set up one you already possess, understanding how one can competently set up an AC unit is vital. This information promises a complete record for DIY air conditioner deploy, guaranteeing you've gotten the entire statistics you desire to hinder your house cool and comfortable.
This article will canopy everything from opting for the excellent measurement of AC unit to knowledge what form of air conditioner suits your wishes fantastic. We’ll also delve into the standard steps in contact in set up and upkeep, aiding you steer clear of accepted pitfalls. So, permit’s dive in!
A Complete Checklist for DIY Air Conditioner Installation
Installing an air conditioning unit may well appear daunting originally, yet with the exact coaching and talents, it may be a elementary strategy. The following list breaks down the precious steps and concerns for a triumphant install.
Understanding Your Needs
What Size of AC Unit Do I Need?
Choosing the right dimension of your air con unit is imperative for most fulfilling performance. An undersized unit will conflict to cool your space, when an outsized one can even cycle on and rancid too in most cases, main to inefficiency.
- Calculate BTUs Needed: The cooling capacity of AC items is measured in British Thermal Units (BTUs). To settle on how many BTUs you need: Measure your room dimensions (length x width). Multiply whole sq. footage with the aid of 20 BTUs.
Example: For a four hundred sq toes room:
400 sq toes x 20 BTUs = 8,000 BTUs is required.
How Do I Know What Type of Air Conditioner to Buy?
The form of air conditioner you want relies on different factors such as price range, room structure, and private possibilities. Here are a few original styles:
Window Units: Affordable and trouble-free to put in; top for single rooms. Split Systems: More helpful; first-class for cooling a couple of rooms. Portable Units: Versatile; acceptable whenever you want mobility. Central AC Systems: Best for higher buildings requiring entire-apartment cooling.Gathering Tools and Materials
Before establishing your setting up project, ensure that you've got the complete indispensable gear:
- Screwdrivers (flathead and Phillips) Measuring tape Level Power drill Circuit tester Safety goggles Duct tape Insulation tape
Preparing for Installation
Selecting the Right Location
Choose a position that maximizes performance. Ideally, location your unit in a shaded discipline that avoids direct daylight which could preclude overall performance.
Checking Electrical Requirements
Ensure that your electrical formula can cope with the weight of the new AC unit:

Installation Steps
Step 1: Preparing the Space
Clear out any boundaries wherein you'll deploy the AC unit. If it can be a window unit, do away with any monitors or boundaries briefly.
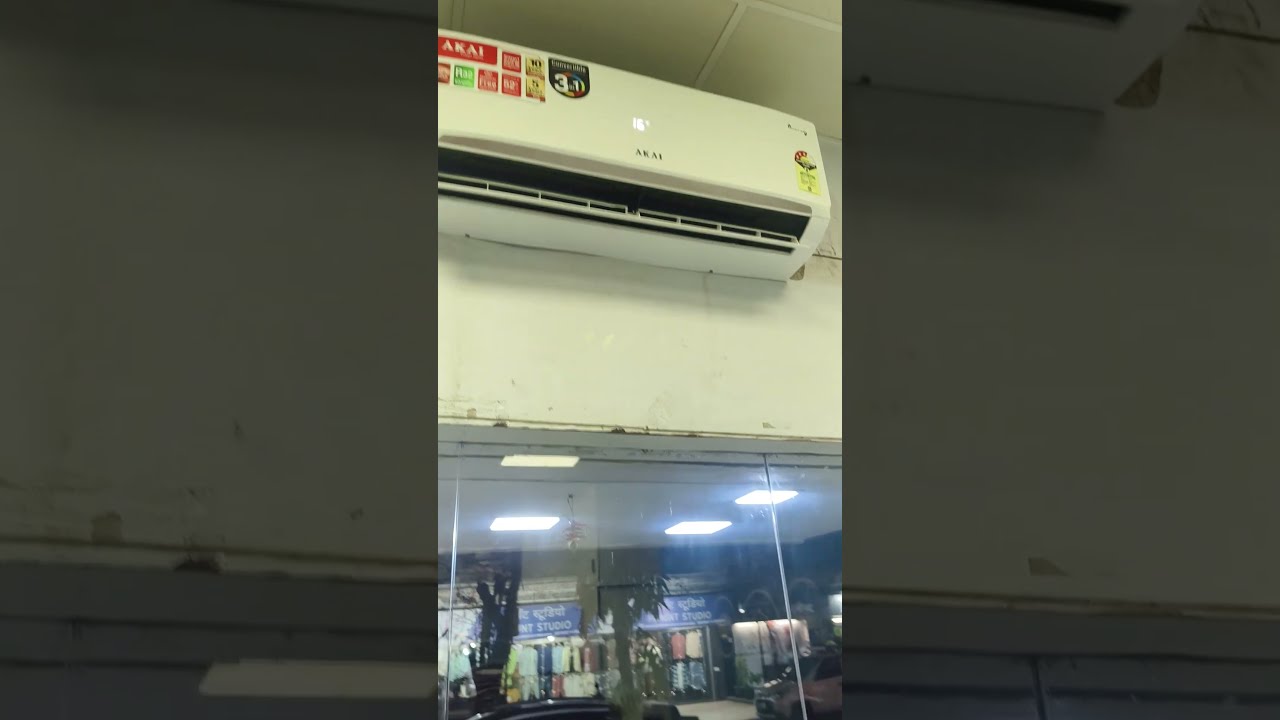
Step 2: Installing Window Units
For window models:
Place the unit on a flat floor in the past lifting it into place. Ensure appropriate sealing with weather stripping or insulation tape. Secure brackets in line with producer lessons. Use a stage to verify or not it's reasonably tilted outward for correct drainage.Step 3: Setting Up Split Systems
For split procedures:
Install indoor aspects on walls clear of direct solar. Drill holes for refrigerant traces via partitions. Connect indoor and out of doors gadgets as consistent with organization recommendations.Testing Your Installation
Once established, it’s time to test your new AC method:
Turn on strength at circuit breaker. Set thermostat to favored temperature. Check airflow by using vents; listen for extraordinary sounds which may imply subject matters.Maintenance Tips Post-Installation
Maintaining your AC process now not in basic terms prolongs its existence yet guarantees effective operation:
Change filters mostly (each 1–3 months). Clean condenser coils once in step with season. Schedule official inspections each year.
Frequently Asked Questions
1. Can I Install My Own AC Unit?
Absolutely! Many property owners efficiently handle DIY installations with careful making plans and adherence to protection protocols.
2. How Long Does It Take to Install an AC Unit?
Typically, it takes approximately 3–6 hours based on the kind of unit and past trip.
three. Do I Need Permits for Installation?
Check local laws as allows may be required headquartered on native building codes.
4. What Should I Do if My AC Isn’t Cooling Properly After Installation?
If cooling complications stand up publish-deploy:
- Check if filters are refreshing, Ensure home windows are sealed, Review setting up instructions for proper setup.
5. Is It Cheaper to Hire Professionals Than Doing It Myself?
While hiring execs incurs labor quotes, DIY can store payment should you're expert and stick to guidance in moderation.
6. Where Can I Find The Best AC Companies in Canada?
You can discover authentic establishments indexed at ACprices.ca, which serves as an in depth listing of good quality service suppliers throughout Canada.
Conclusion
In abstract, setting up an air con unit doesn’t have to be overwhelming with our entire record handy! By knowledge your wants— from sizing up your house wisely to deciding on top instruments— and adhering carefully to every single step outlined above, you are nicely to your approach closer to having fun with a funky sanctuary in the course of these warm summer season days.
Whether you might be fitting a window unit or deciding upon extra complicated break up programs, this manual has fitted you with effective insights into tremendous setting up practices although additionally emphasizing ongoing preservation necessities— making certain long-time period delight with your investment in alleviation!
Now which you've obtained all this expertise at your fingertips—are you prepared to address that DIY venture expectantly? Remember invariably prioritize safety! Happy cooling!